Hey!
So as I said in my review/swatches of Nfu-Oh #61 last night, I won't be doing any nail art for a while because I'm reviewing, swatching and doing wear tests for the entire Nfu-Oh Holographic Series of polishes. Thus, I'm trying to do some extra tutorials so that I still have some form of nail art for you.
I'll put up another poll today and I'll only let it run for 2 days this time so that I can have another tutorial up for you in a couple of days.
We had a very close poll once again this time and there was a tie between 2 designs: Abstract and Rainbow Polka Dots. In order to break the tie, I asked my polish friends on Facebook to choose which design they would rather see and the design that won out was my Rainbow Polka Dots design.
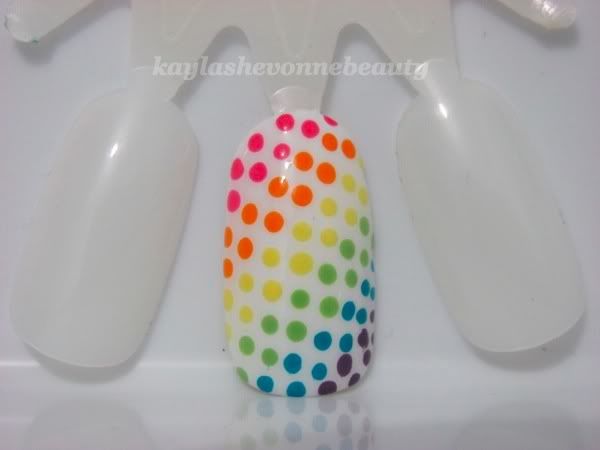
To refresh, here's the design I'll be doing a tutorial for today:
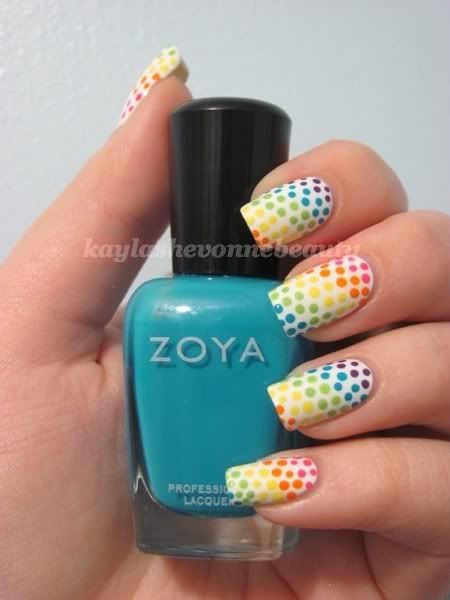
Keep reading for the tutorial!
What you'll need:
The exact brands/names of the polishes I've used are in brackets but you can use whatever brands/shades you have in your stash.

Step 1:
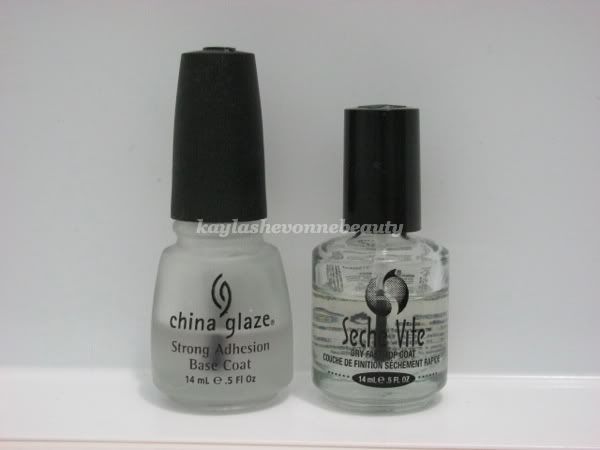
Apply your base coat. (I didn't think it was necessary to take a photo of this step.)
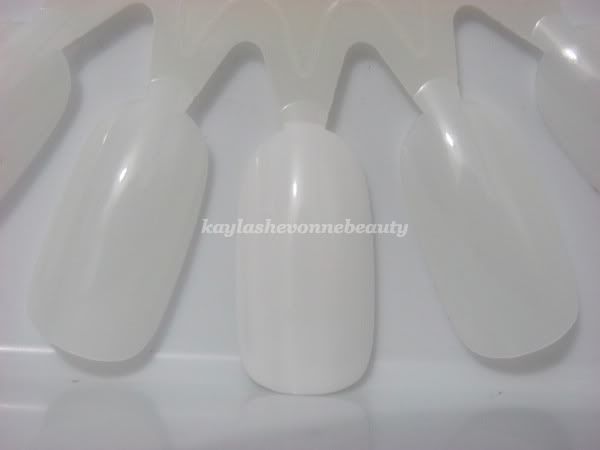
Step 2:
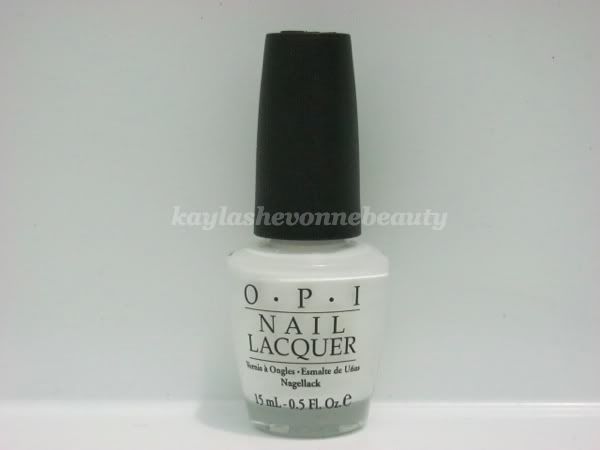
Apply two coats (or until it's opaque) of your white polish to all of your nails. This will serve as your base colour.
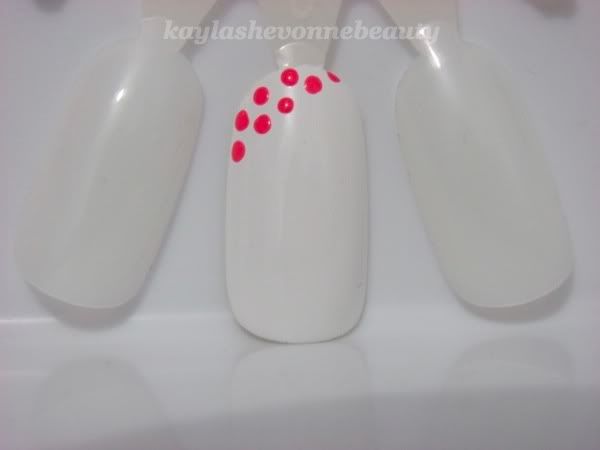
Step 3:
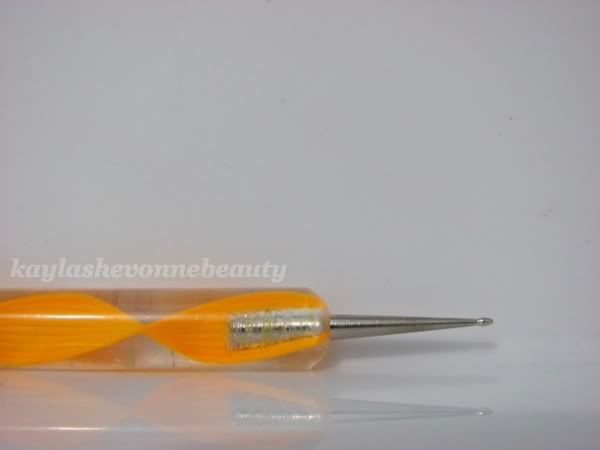
Dab some of your first colour onto some scrap paper (I'm starting with pink) and using your dotting tool, start to make a diagonal line of dots at the base of your nail.
Depending on the length of your nails, you might be able to do 2 lines of each coloured dots (which is what I'm going to be doing here) or maybe more if your nails are really long, but stick with just 1 line of each colour if your nails are on the shorter side because you want to be able to fit as many of the 6 colours on your nails as possible.
Also, remember to stagger your dots with each new line. I explained this technique in my Hello Kitty tutorial so be sure to check that out if you're not sure what I mean.
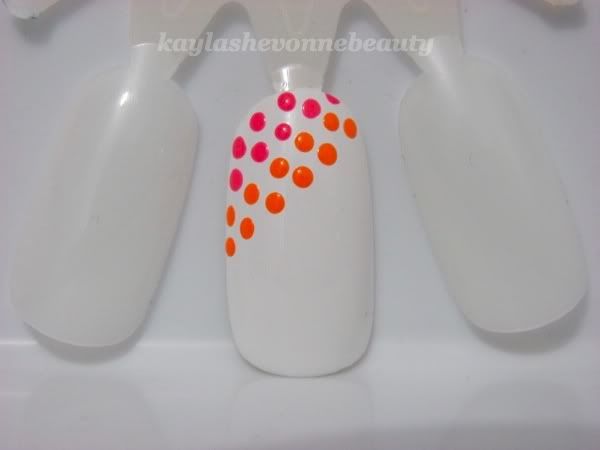
Step 4:
Once you've completed your dots with the first colour, move onto your next colour (I'll be doing orange next) and continue with the diagonal lines of dots.
Step 5:
Keep going with the rest of your colours until you have filled your entire nail with dots. If you were unable to fit all of the colours on your first nail, start with the colour(s) you weren't able to use on your next nail. This will ensure that you're able to use all of the colours of the rainbow. This is also why you should only work on one nail at a time when you first start the design so that you know exactly how many colours you're going to be able to fit on each nail.
If you look to my design on my own nails, I wasn't able to fit the pink dots on my index and ring fingers which is why I chose to start my middle and pinky fingers with the pink dots. Vice versa, I wasn't able to fit the purple dots on my middle and pinky so I started my index and ring fingers with the purple dots.

Step 6:
Because you've used so many colours, wait a decent amount of time before adding your top coat so that you don't experience any dragging of the colours. After allowing your design to dry completely, add a layer of your favorite top coat. This will make your new mani last longer, it will smooth out any bumps and ridges that have been created during the process, and will also give your nails a nice shine.
As always, I hope this tutorial was helpful and I hope some of you will try this design out for yourselves. And I'd really like to see pictures of this if you try it. :)
So as I said in my review/swatches of Nfu-Oh #61 last night, I won't be doing any nail art for a while because I'm reviewing, swatching and doing wear tests for the entire Nfu-Oh Holographic Series of polishes. Thus, I'm trying to do some extra tutorials so that I still have some form of nail art for you.
I'll put up another poll today and I'll only let it run for 2 days this time so that I can have another tutorial up for you in a couple of days.
We had a very close poll once again this time and there was a tie between 2 designs: Abstract and Rainbow Polka Dots. In order to break the tie, I asked my polish friends on Facebook to choose which design they would rather see and the design that won out was my Rainbow Polka Dots design.
To refresh, here's the design I'll be doing a tutorial for today:
Keep reading for the tutorial!
What you'll need:
The exact brands/names of the polishes I've used are in brackets but you can use whatever brands/shades you have in your stash.
Step 1:
Apply your base coat. (I didn't think it was necessary to take a photo of this step.)
Step 2:
Apply two coats (or until it's opaque) of your white polish to all of your nails. This will serve as your base colour.
Step 3:
Dab some of your first colour onto some scrap paper (I'm starting with pink) and using your dotting tool, start to make a diagonal line of dots at the base of your nail.
Depending on the length of your nails, you might be able to do 2 lines of each coloured dots (which is what I'm going to be doing here) or maybe more if your nails are really long, but stick with just 1 line of each colour if your nails are on the shorter side because you want to be able to fit as many of the 6 colours on your nails as possible.
Also, remember to stagger your dots with each new line. I explained this technique in my Hello Kitty tutorial so be sure to check that out if you're not sure what I mean.
Step 4:
Once you've completed your dots with the first colour, move onto your next colour (I'll be doing orange next) and continue with the diagonal lines of dots.
Step 5:
Keep going with the rest of your colours until you have filled your entire nail with dots. If you were unable to fit all of the colours on your first nail, start with the colour(s) you weren't able to use on your next nail. This will ensure that you're able to use all of the colours of the rainbow. This is also why you should only work on one nail at a time when you first start the design so that you know exactly how many colours you're going to be able to fit on each nail.
If you look to my design on my own nails, I wasn't able to fit the pink dots on my index and ring fingers which is why I chose to start my middle and pinky fingers with the pink dots. Vice versa, I wasn't able to fit the purple dots on my middle and pinky so I started my index and ring fingers with the purple dots.
Step 6:
Because you've used so many colours, wait a decent amount of time before adding your top coat so that you don't experience any dragging of the colours. After allowing your design to dry completely, add a layer of your favorite top coat. This will make your new mani last longer, it will smooth out any bumps and ridges that have been created during the process, and will also give your nails a nice shine.
As always, I hope this tutorial was helpful and I hope some of you will try this design out for yourselves. And I'd really like to see pictures of this if you try it. :)
Post Title
→Nail Art Tutorial - Rainbow Polka Dots
Post URL
→http://emogirlhairstyles2011.blogspot.com/2011/07/nail-art-tutorial-rainbow-polka-dots.html
Visit emo girl hairstyles 2011 for Daily Updated Wedding Dresses Collection


