Hey guys!
So last week I put up a poll in my sidebar asking you all to vote and let me know which of my previous nail designs you would like to see a tutorial for next.
It was pretty neck and neck for a while between Rainbow Polka Dots and Neon Rainbow Cheetah but in the end, with 37% of the votes, the one you guys wanted to see the most was this one:
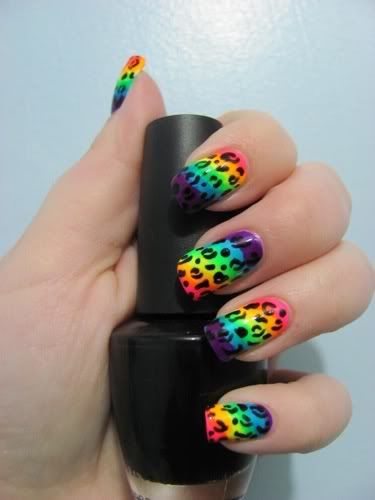
Keep reading for the tutorial!
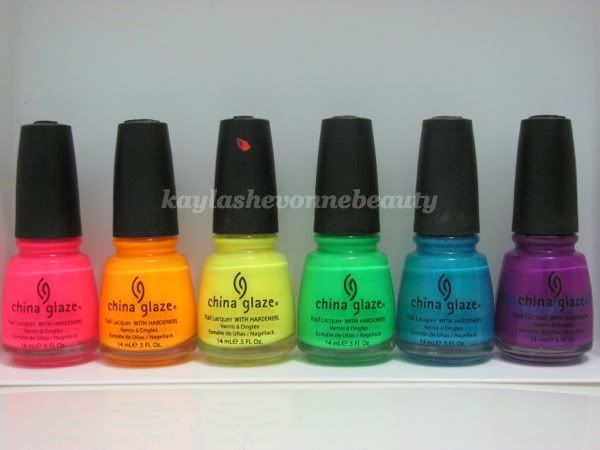
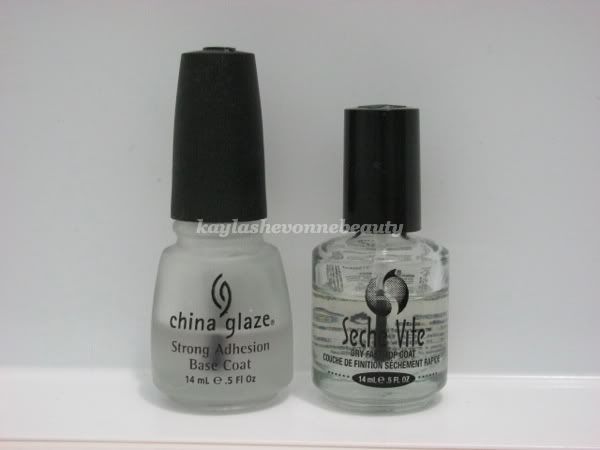
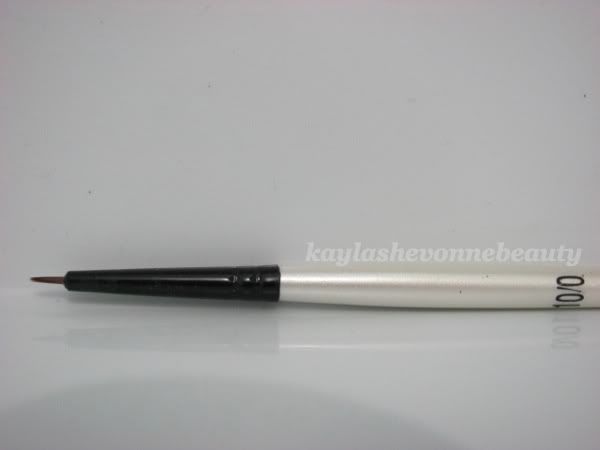
What you'll need:
The exact brands/names of the polishes I've used are in brackets but you can use whatever brands/shades you have in your stash.

Step 1:
Apply your base coat. (I didn't think it was necessary to take a photo of this step.)
Step 2:
Apply one coat of your white polish. This will make the neon colours you're using pop and will also just create a better base for your design.
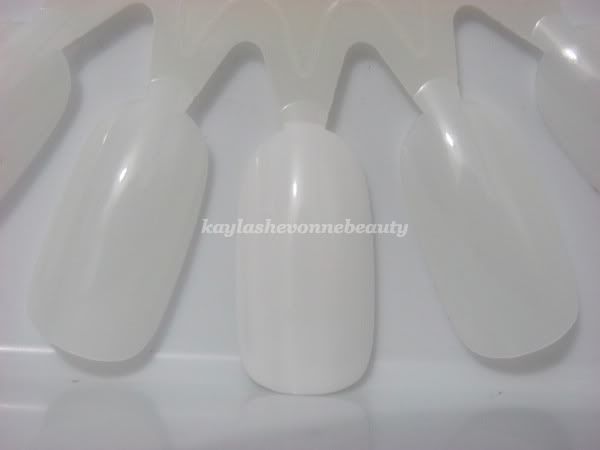
Step 3: Take your first neon polish (I'm starting with pink), and paint a rough diagonal line at the base of your nail. How thick or thin you make this line is going to depend on the length of your nail (i.e. if your nails are on the shorter side, you should make these lines thinner than what I'm doing here).
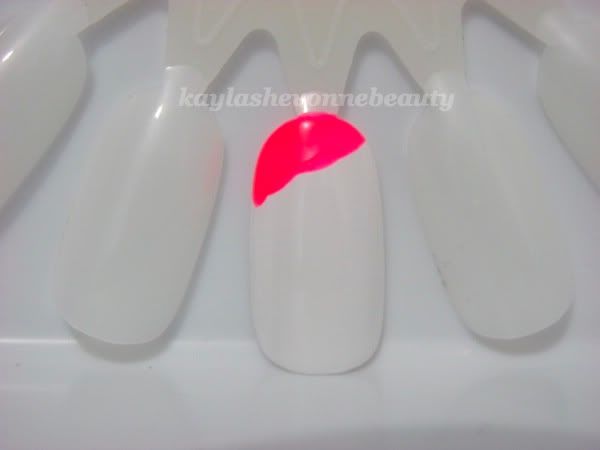
Step 4: While the pink is still wet, do another rough diagonal line using your orange neon polish, making sure to overlap the wet pink polish a bit. This will help to blend the 2 shades together.
Note: Because neon shades dry rather quickly, you're going to need to work quickly and you should only work on 1 nail at a time. You should also have your colours lined up in the order you'll be needing them, with the caps unscrewed for faster access.
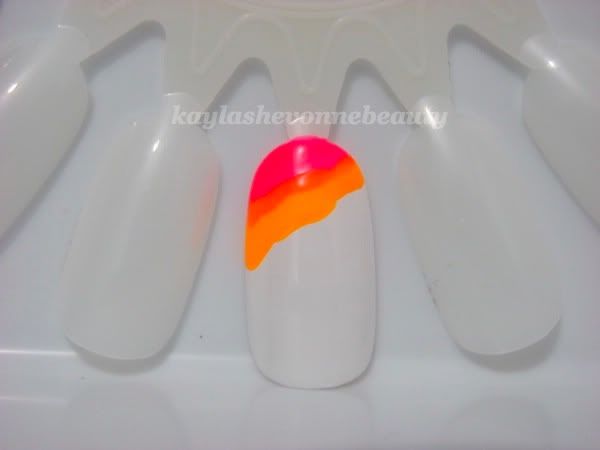
Step 5: Just as you did in Step 4, take your yellow neon polish and make a rough diagonal line overlapping the wet orange polish.

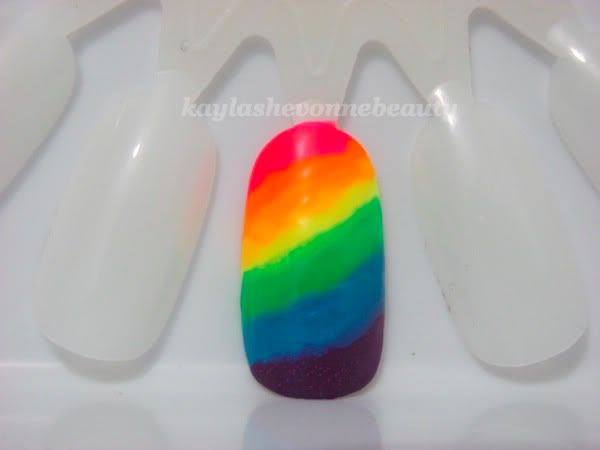
Step 6: Continue repeating Step 4/5 with the other 3 colours (green, blue and purple). You should now have something that looks like this:
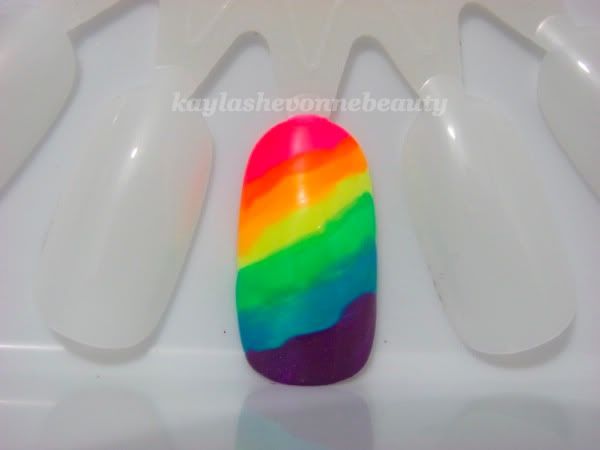
Step 7: This step is optional but you may want to go over your colours once more. You may want to do this because a.) you applied the colours a little too sheer the first time around and the base colour of white is still visible and/or b.) the colours aren't as blended as you would like.
Step 8: After allowing your neon colours to dry, drop a bit of your black polish onto a piece of scrap paper. Then, take your small detail brush and using the black polish, make random, jagged C, backwards C, O and dot shapes. Remember that this doesn't need to be perfect - cheetah spots aren't perfect!
However, if you're not comfortable with your freehand skills, there are a number of animal print stamps available from brands such as Konad, Bundle Monster, etc. Or, I also think that a layer of Black Shatter/Crackle would look really cool over this rainbow design.
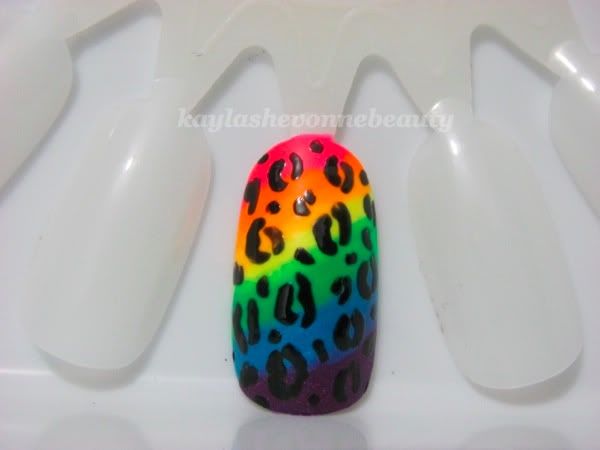
Step 9: After allowing your design to dry completely, add a layer of your favorite top coat. This will make your new mani last longer, it will smooth out any bumps and ridges that have been created during the process, and will also give your nails a nice shine. As well, for this design in particular, a top coat helps to blend the colours together even better.

I hope this tutorial was helpful and I hope some of you will try this design out for yourselves! And I'd really like to see pictures of this if you try it. :)
I'll keep putting polls up in my sidebar so that the tutorials I do are entirely based on what you all want to see.
So last week I put up a poll in my sidebar asking you all to vote and let me know which of my previous nail designs you would like to see a tutorial for next.
It was pretty neck and neck for a while between Rainbow Polka Dots and Neon Rainbow Cheetah but in the end, with 37% of the votes, the one you guys wanted to see the most was this one:

Keep reading for the tutorial!
What you'll need:
The exact brands/names of the polishes I've used are in brackets but you can use whatever brands/shades you have in your stash.


Step 1:
Apply your base coat. (I didn't think it was necessary to take a photo of this step.)
Step 2:
Apply one coat of your white polish. This will make the neon colours you're using pop and will also just create a better base for your design.

Step 3: Take your first neon polish (I'm starting with pink), and paint a rough diagonal line at the base of your nail. How thick or thin you make this line is going to depend on the length of your nail (i.e. if your nails are on the shorter side, you should make these lines thinner than what I'm doing here).

Step 4: While the pink is still wet, do another rough diagonal line using your orange neon polish, making sure to overlap the wet pink polish a bit. This will help to blend the 2 shades together.
Note: Because neon shades dry rather quickly, you're going to need to work quickly and you should only work on 1 nail at a time. You should also have your colours lined up in the order you'll be needing them, with the caps unscrewed for faster access.

Step 5: Just as you did in Step 4, take your yellow neon polish and make a rough diagonal line overlapping the wet orange polish.

Step 6: Continue repeating Step 4/5 with the other 3 colours (green, blue and purple). You should now have something that looks like this:

Step 7: This step is optional but you may want to go over your colours once more. You may want to do this because a.) you applied the colours a little too sheer the first time around and the base colour of white is still visible and/or b.) the colours aren't as blended as you would like.

Step 8: After allowing your neon colours to dry, drop a bit of your black polish onto a piece of scrap paper. Then, take your small detail brush and using the black polish, make random, jagged C, backwards C, O and dot shapes. Remember that this doesn't need to be perfect - cheetah spots aren't perfect!
However, if you're not comfortable with your freehand skills, there are a number of animal print stamps available from brands such as Konad, Bundle Monster, etc. Or, I also think that a layer of Black Shatter/Crackle would look really cool over this rainbow design.

Step 9: After allowing your design to dry completely, add a layer of your favorite top coat. This will make your new mani last longer, it will smooth out any bumps and ridges that have been created during the process, and will also give your nails a nice shine. As well, for this design in particular, a top coat helps to blend the colours together even better.

I hope this tutorial was helpful and I hope some of you will try this design out for yourselves! And I'd really like to see pictures of this if you try it. :)
I'll keep putting polls up in my sidebar so that the tutorials I do are entirely based on what you all want to see.
Post Title
→Nail Art Tutorial - Neon Rainbow Cheetah
Post URL
→http://emogirlhairstyles2011.blogspot.com/2011/07/nail-art-tutorial-neon-rainbow-cheetah.html
Visit emo girl hairstyles 2011 for Daily Updated Wedding Dresses Collection


