Hey guys!
The most recent sidebar poll was the closest yet with 3 of the options being super close. However, in the end, my Hello Kitty design won out with 30% of the votes.
The other two options that were very close in the running were my Palm Tree Sunset design with 24% of the votes, and my Ice Cream Sundaes design with 22% of the votes. I'll put both of those designs in the next poll since it seems that you guys definitely want to see tutorials for them.
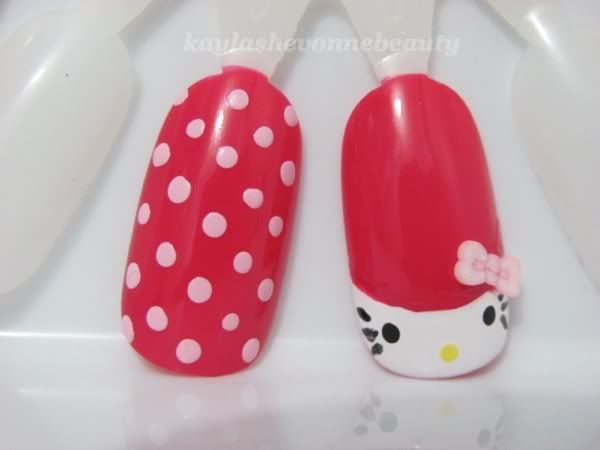
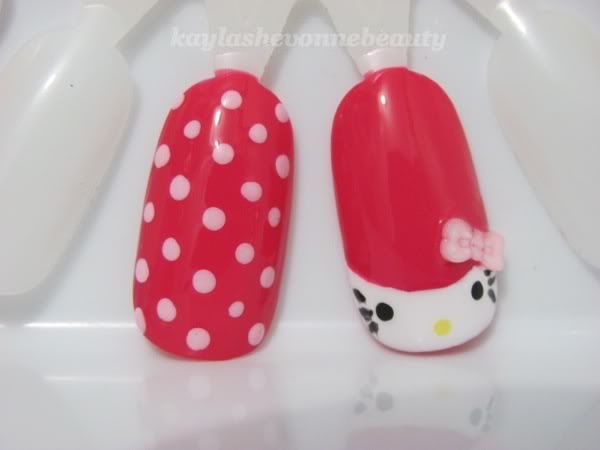
To refresh, here's the design I'll be doing a tutorial for today:
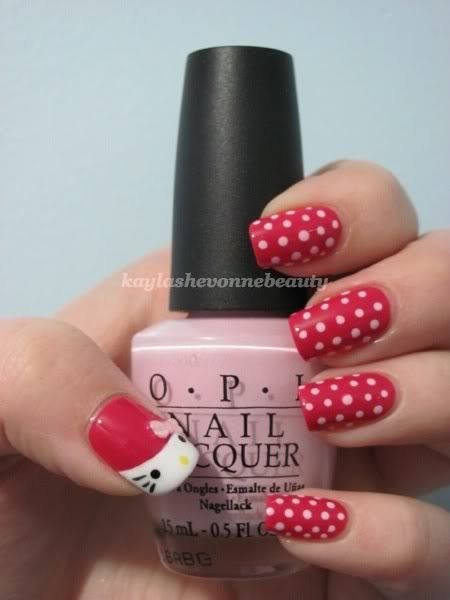
Keep reading for the tutorial!
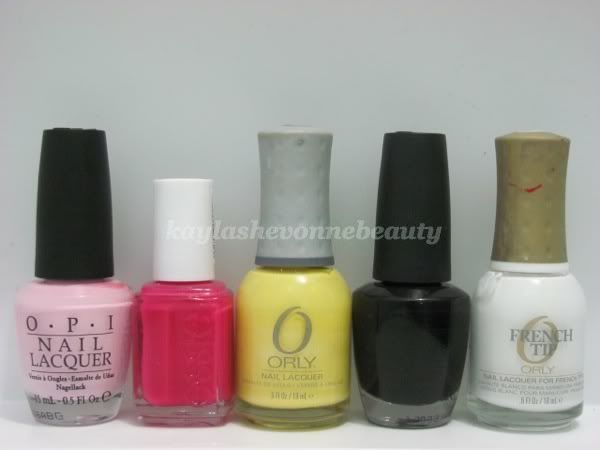
What you'll need:
The exact brands/names of the polishes I've used are in brackets but you can use whatever brands/shades you have in your stash.
Step 1:
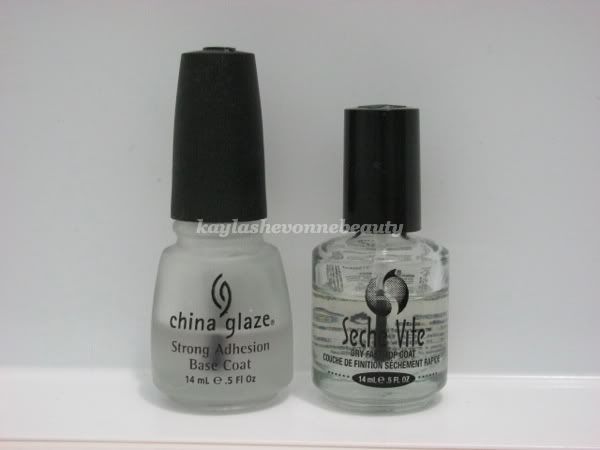
Apply your base coat. (I didn't think it was necessary to take a photo of this step.)
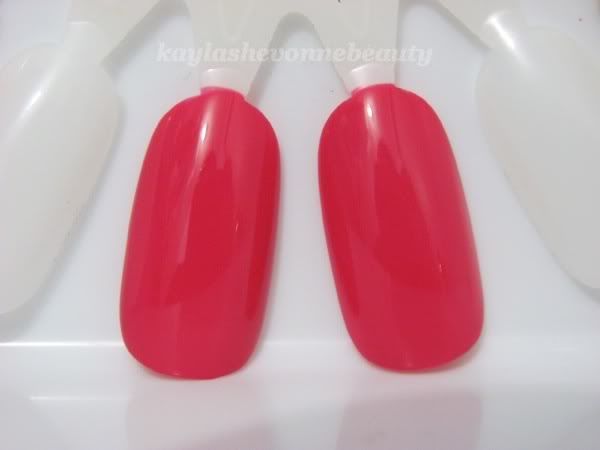
Step 2:
Apply two coats (or until it's opaque) of your hot pink polish to all of your nails. This will serve as your base colour.
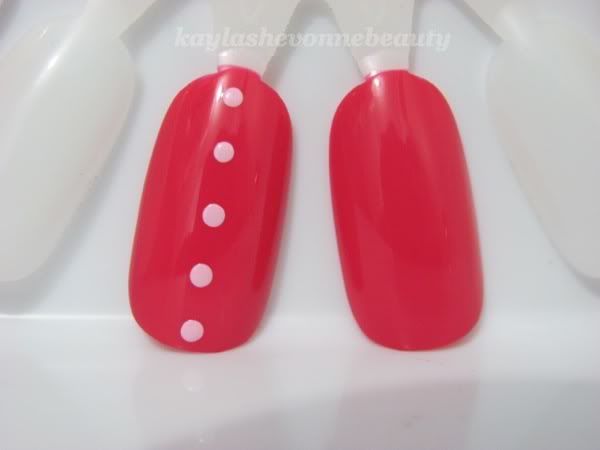
Step 3:
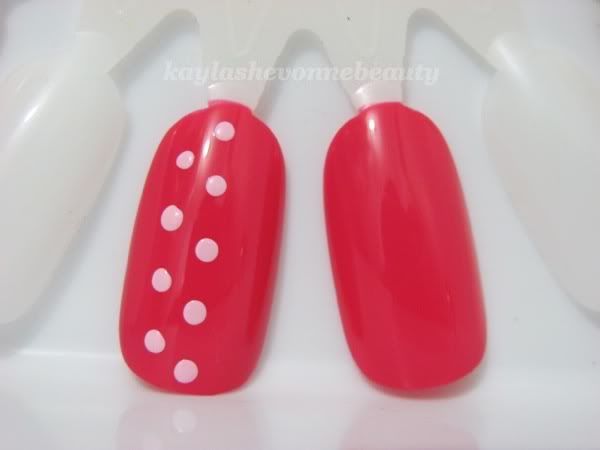
This is the easy part - the polka dots.
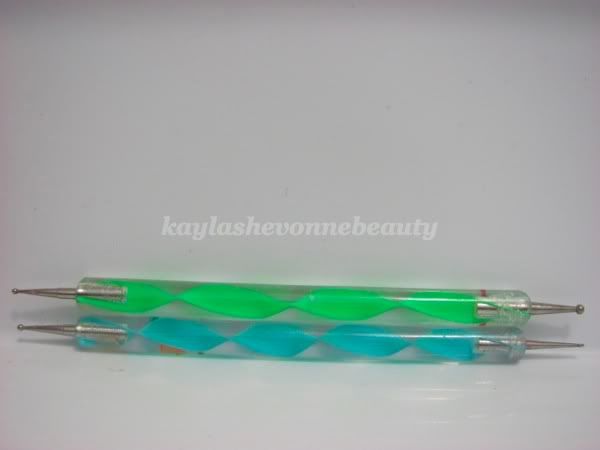
For all of your nails besides your thumbs, you'll be using your medium sized dotting tool to create the polka dots with your light pink cream polish. The trick to making polka dots looks their best is to order them in a staggered arrangement. In other words, instead of placing them directly side-by-side, you'll want to do one row first and then for your next row, you'll place the dots in between the dots of your first row. It's a hard technique to explain in words but hopefully the pictures will help to make sense out of it.
As well, you'll want to do your first row of dots in the center of the nail and work outwards.

Step 4:
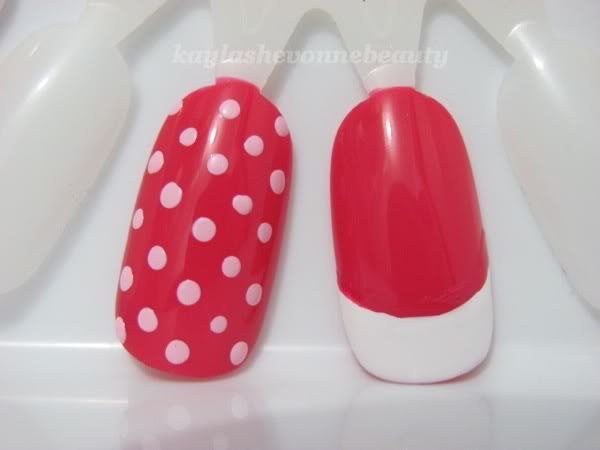
This is where the more difficult and precise freehand work comes in. I won't lie, the rest of the design, i.e. Hello Kitty, will take some patience and precision. If you're not comfortable working with your non-dominant hand, I'd suggest just doing the polka dots on the thumb of your dominant hand so that you don't have to go through the frustration of doing precision work with your non-dominant hand. However, practice makes perfect so if you're up for the challenge, I encourage you to go for it!
You'll start off by making a simple french tip with your white polish. You want to make sure that the edges of the french tip are curved instead of straight across - this will look more like the shape of Hello Kitty.
Step 5:
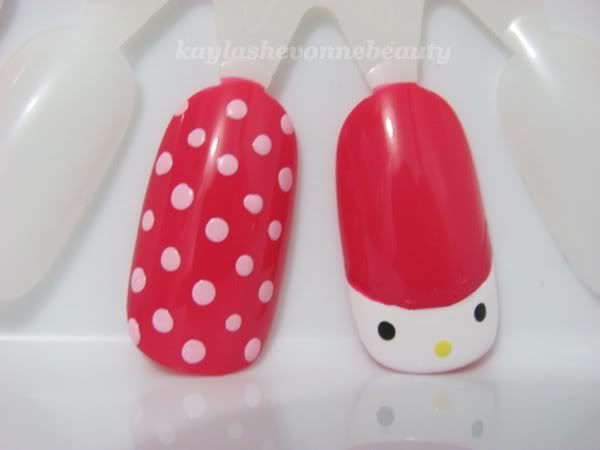
Using your small dotting tool (or toothpick) and your black polish, make the eyes. You'll want to make them pretty far apart leaving only enough room on either side for some short whiskers.

Step 6:
After cleaning the black polish off, use the same small dotting tool and your yellow polish to make the nose. You'll want to make it in between the eyes but a little closer to the tip of the nail.
Step 7:
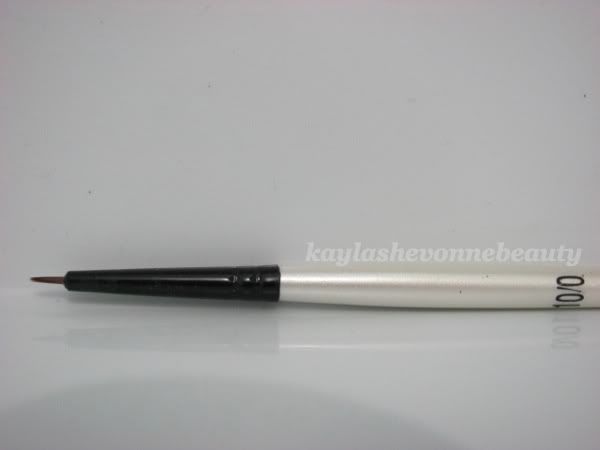
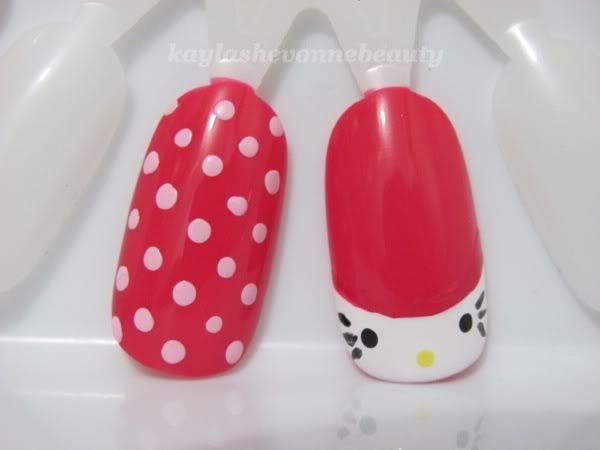
Using your small detail brush and your black polish, you'll want to freehand 3 wispy black lines on each side of the face.
Step 8:
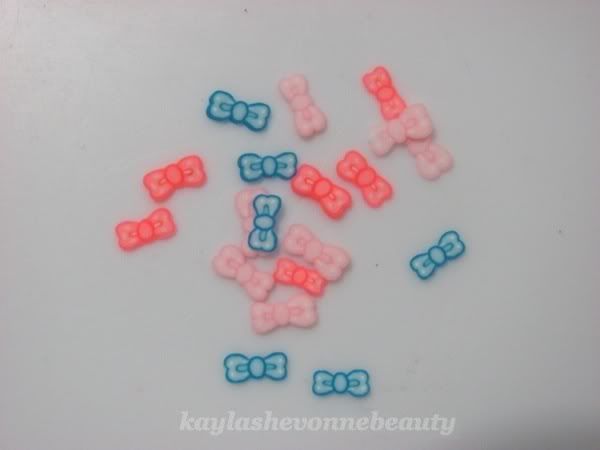
In order to get the fimo bow to stick, you'll want to add a small blob of top coat to the area where you're going to place the bow. You'll want to place the bow on a slight diagonal above Hello Kitty's right eye.
Step 9:
After allowing your design to dry completely, add a layer of your favorite top coat. This will make your new mani last longer, it will smooth out any bumps and ridges that have been created during the process and will also give your nails a nice shine.
Unfortunately I was a little impatient waiting for the design to dry so the top coat dragged the black of the whiskers. However this won't be a problem for you as long as you wait for your design to dry completely before adding top coat.
As always, I hope this tutorial was helpful and I hope some of you will try this design out for yourselves. And I'd really like to see pictures of this if you try it. :)
The most recent sidebar poll was the closest yet with 3 of the options being super close. However, in the end, my Hello Kitty design won out with 30% of the votes.
The other two options that were very close in the running were my Palm Tree Sunset design with 24% of the votes, and my Ice Cream Sundaes design with 22% of the votes. I'll put both of those designs in the next poll since it seems that you guys definitely want to see tutorials for them.
To refresh, here's the design I'll be doing a tutorial for today:
Keep reading for the tutorial!
What you'll need:
The exact brands/names of the polishes I've used are in brackets but you can use whatever brands/shades you have in your stash.
Step 1:
Apply your base coat. (I didn't think it was necessary to take a photo of this step.)
Step 2:
Apply two coats (or until it's opaque) of your hot pink polish to all of your nails. This will serve as your base colour.
Step 3:
This is the easy part - the polka dots.
For all of your nails besides your thumbs, you'll be using your medium sized dotting tool to create the polka dots with your light pink cream polish. The trick to making polka dots looks their best is to order them in a staggered arrangement. In other words, instead of placing them directly side-by-side, you'll want to do one row first and then for your next row, you'll place the dots in between the dots of your first row. It's a hard technique to explain in words but hopefully the pictures will help to make sense out of it.
As well, you'll want to do your first row of dots in the center of the nail and work outwards.
Step 4:
This is where the more difficult and precise freehand work comes in. I won't lie, the rest of the design, i.e. Hello Kitty, will take some patience and precision. If you're not comfortable working with your non-dominant hand, I'd suggest just doing the polka dots on the thumb of your dominant hand so that you don't have to go through the frustration of doing precision work with your non-dominant hand. However, practice makes perfect so if you're up for the challenge, I encourage you to go for it!
You'll start off by making a simple french tip with your white polish. You want to make sure that the edges of the french tip are curved instead of straight across - this will look more like the shape of Hello Kitty.
Step 5:
Using your small dotting tool (or toothpick) and your black polish, make the eyes. You'll want to make them pretty far apart leaving only enough room on either side for some short whiskers.
Step 6:
After cleaning the black polish off, use the same small dotting tool and your yellow polish to make the nose. You'll want to make it in between the eyes but a little closer to the tip of the nail.
Step 7:
Using your small detail brush and your black polish, you'll want to freehand 3 wispy black lines on each side of the face.
Step 8:
In order to get the fimo bow to stick, you'll want to add a small blob of top coat to the area where you're going to place the bow. You'll want to place the bow on a slight diagonal above Hello Kitty's right eye.
Step 9:
After allowing your design to dry completely, add a layer of your favorite top coat. This will make your new mani last longer, it will smooth out any bumps and ridges that have been created during the process and will also give your nails a nice shine.
Unfortunately I was a little impatient waiting for the design to dry so the top coat dragged the black of the whiskers. However this won't be a problem for you as long as you wait for your design to dry completely before adding top coat.
As always, I hope this tutorial was helpful and I hope some of you will try this design out for yourselves. And I'd really like to see pictures of this if you try it. :)
Post Title
→Nail Art Tutorial - Hello Kitty
Post URL
→http://emogirlhairstyles2011.blogspot.com/2011/07/nail-art-tutorial-hello-kitty.html
Visit emo girl hairstyles 2011 for Daily Updated Wedding Dresses Collection


